Now that you've got the armor/structure plates cut out, you need to drill holes in them so that they can be connected together. This project will introduce you to techniques for using the drill press and cordless drill, as well as methods for tapping holes. You will be drilling holes into the aluminum base plate you cut in Project 2, as well as the Lexan side panels. You will also create threaded mounting holes in these pieces, so that you can assemble them in the next project.
| Caution: Eye protection is mandatory for these tools. Pieces of metal will be flying everywhere. Review all of the general power-tool safety protocols described in Chapter 5 of Kickin' Bot (Cutting Metal), as well as the sections in Chapter 7 (Drilling and Tapping Holes) that correspond to the specific tools used below. |
Part 2: Drilling the Axle Holes in the Side Panels
Again, the drill press is the tool of choice when you've got a lot of straight holes to make. For this series of steps, you will be working on the Lexan side panels. You'll start by using the hole saw (or Uni-bit) to make large diameter holes for the axles.
click on an image to enlarge it
|
|
Peel off the protective coating on one face of each of the side panels. Leave the other face covered to protect its surface from scratches. Download and print out full-size (1:1 scale) the drill patterns for the side panels. |
|
|
Cut out the patterns and attach them to the face, top, and bottom of each of the side panels using 3M Spray 77 spray adhesive. Using an automatic center punch, mark all the holes indicated. |
|
|
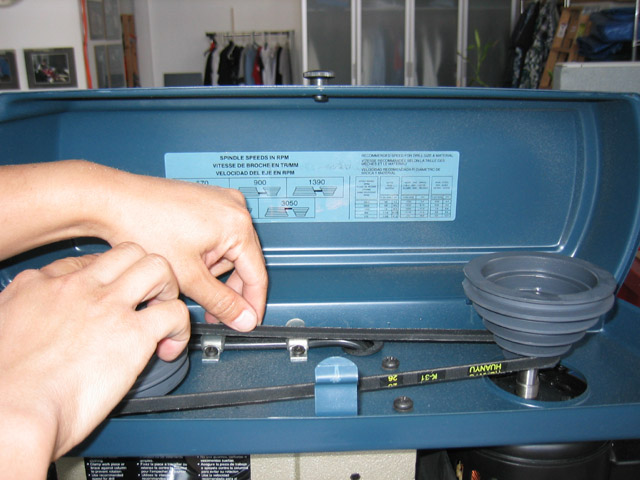
Lower the spindle speed on the drill press to the slowest setting possible. Consult your owner's manual for instructions on how to do this for your individual machine. Procedures may be different between models and manufacturers. |
|
|
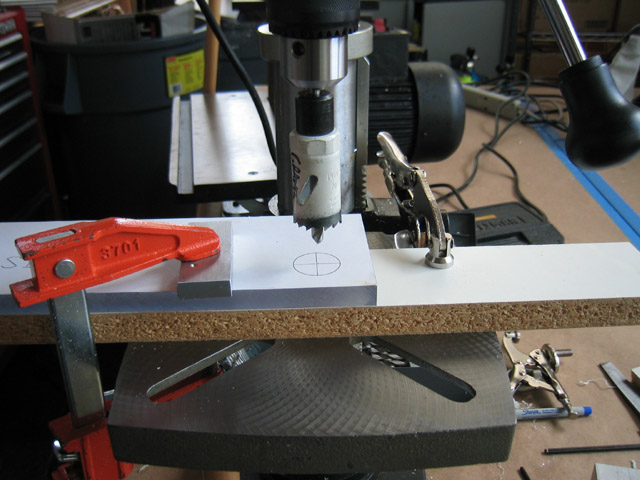
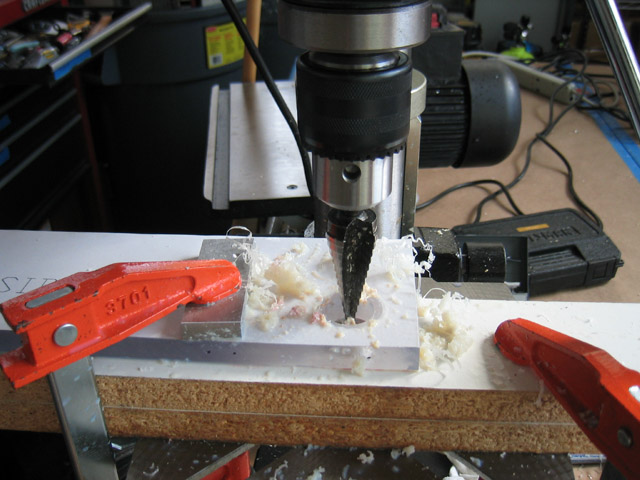
Start by drilling the axle holes in the panels marked "side" (as opposed to those marked "front") with a 1" hole saw (or large Uni-bit, as described below). Add a scrap piece of wood underneath the side panel before clamping the workpiece into place. This will allow you to drill the large diameter axle hole all the way through the piece without damaging the drill press table. Make sure to use a generous amount of lubrication to keep the plastic cool. You can use water or WD-40. |
|
|
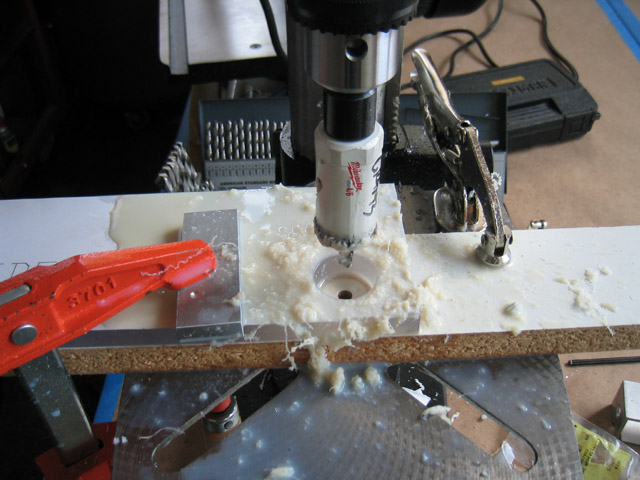
Be patient; it will take a little while to make it all the way through. For the cleanest hole, use a lot of lubrication, as mentioned above. Don't leave water or water-based cutting lubricants on your tools for too long. You should wipe them up at the end of the day. |
|
|
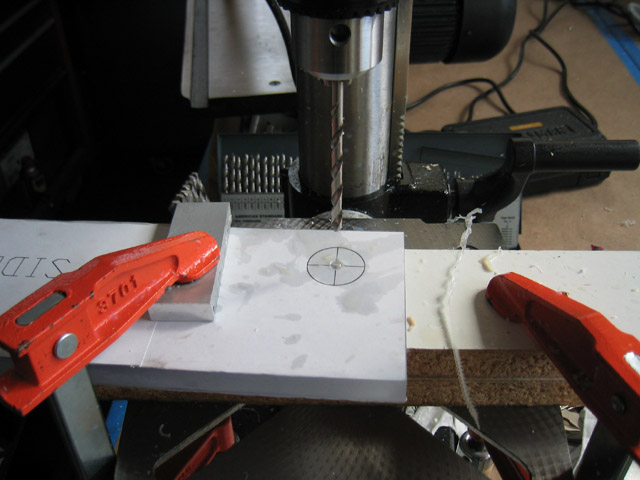
If you use a Uni-bit, make sure to drill a 1/4" pilot hole first to help guide the tip into place. |
|
|
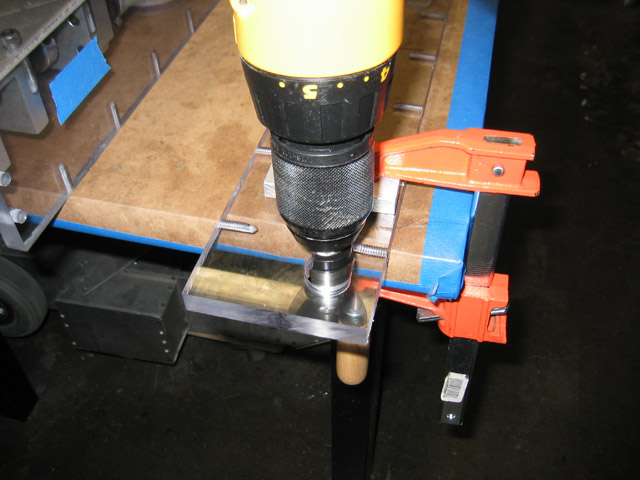
You should use the large version Uni-bit with a 3/4" maximum diameter to make the initial hole. Also, you've got to increase the thickness of the wood block under the workpiece, since the entire length of the Uni-bit will be travelling through the panel (and into the drill press table if you're not careful). |
|
|
After you're done, clamp the piece to the table and use the Uni-bit with a 1" maximum diameter to open up the hole to the desired 1". Unfortunately, you can't start with the 1" maximum diameter Uni-bit because it has a flat tip and a minimum diameter of 1/2". (Note: This picture shows that the drill patterns have been removed from the workpiece; make sure to keep them on until Project 3-3 has been completed.) |
|
|
|