So far, you've cut out all the armor plates and drilled all the holes for your project robot. You're almost ready to bolt everything together. In this project, you will prepare the polycarbonate plates, axles, motors, and other drive system components for assembly and fasten them to the base. You'll get practice in preparing Lexan (no sharp edges, as mentioned in Chapter 4), as well as your first taste of soldering with the motor leads, and cutting steel for the axles.
| Caution: Eye protection is required for all of these operations. Review all of the general power-tool safety protocols described in Chapter 5 of Kickin' Bot, as well as the sections in Chapter 6 (Shaping and Finishing Metal) that correspond to the specific tools used below. |
Part 1: Deburring the Side Panels
One of the rules for working with polycarbonate is no sharp edges. Sharp edges that are
the result of cutting and drilling operations can occur on every side and hole (including tapped holes). These
are the first places to fail by cracking under extreme loads. You can relieve these by chamfering them, which puts
a slight angle on the edge. Holes are chamfered with a countersink, while the edges of the part can be done with
a deburring tool.
click on an image to enlarge it
|
|
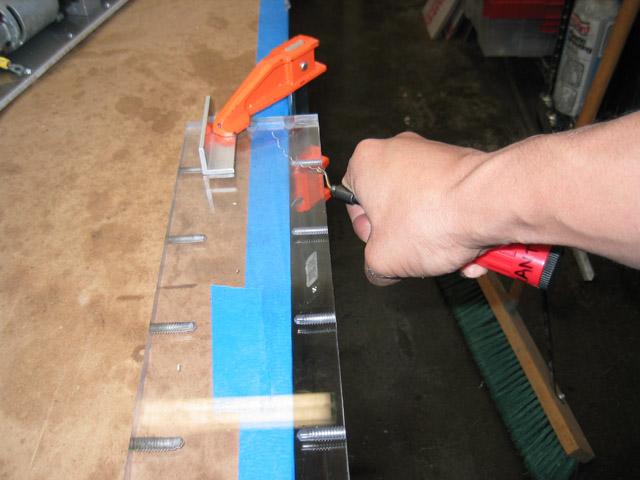
Clamp the part to the table so that the piece does not move while you use the deburring tool. Start close to one end and draw the tool along the edge in a nice, even stroke. Keep the angle of the tool low so you don't scratch the polycarbonate with the ball end. Continue all the way down the length, keeping constant pressure towards the center of the plate, and past the corner in one smooth stroke. You should see some plastic curling up into a little spiral. You can run the deburring tool along the edge a couple of times if you want, but you don't need to take a huge amount off. All you're doing is getting rid of the sharp edge. Next, you'll flip the plate around and take care of the remaining part (the very tip) that you didn't get at the start of the first pass. |
|
|
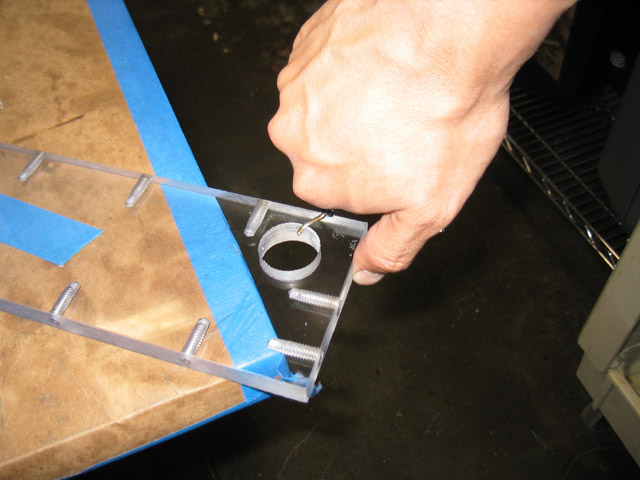
Repeat this process for all edges of the plate. Also, you should use the deburring tool to take care of the large diameter axle holes. |
|
|
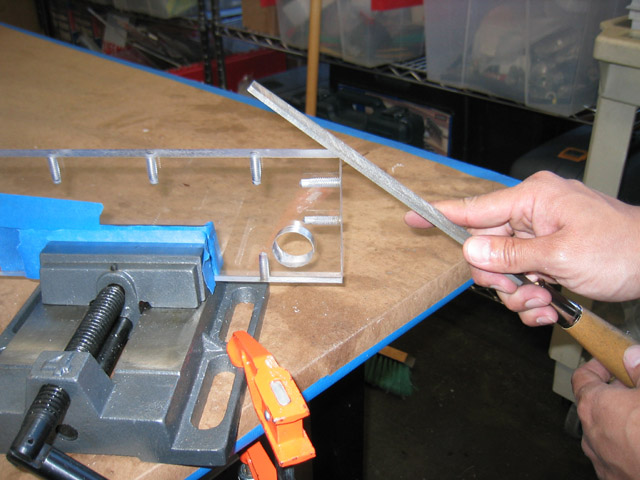
Don't forget the corners. It will be difficult to use the deburring tool, so use a flat file and swing your arm up in an arc as you push the file forward, so that you can round over the edge. Remember to only file in the forward direction, since that's where the file's cutting edges are pointing. |
|
|
|