Now that you've got the armor/structure plates cut out, you need to drill holes in them so that they can be connected together. This project will introduce you to techniques for using the drill press and cordless drill, as well as methods for tapping holes. You will be drilling holes into the aluminum base plate you cut in Project 2, as well as the Lexan side panels. You will also create threaded mounting holes in these pieces, so that you can assemble them in the next project.
| Caution: Eye protection is mandatory for these tools. Pieces of metal will be flying everywhere. Review all of the general power-tool safety protocols described in Chapter 5 of Kickin' Bot (Cutting Metal), as well as the sections in Chapter 7 (Drilling and Tapping Holes) that correspond to the specific tools used below. |
Part 1: Drilling Holes in the Base Plate
You will be attaching the drill pattern and marking holes using the automatic center punch. While a cordless drill can perform all of these operations, the drill press will give you the best results and allow you to work the fastest, because you won't have to concentrate on holding the tool straight to create straight holes. Some of the holes are inaccessible with the drill press, however, and that's where you will use the cordless drill. You'll finish up the base plate by tapping some of the holes for screw threads.
click on an image to enlarge it
|
|
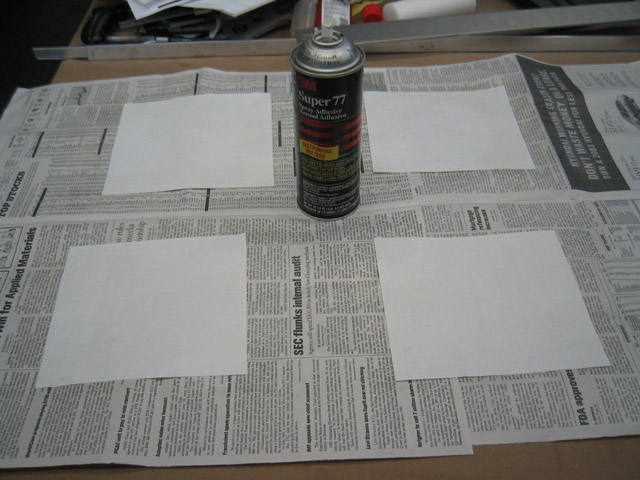
Download and print out (1:1 scale) the base plate hole patterns. Apply 3M Spray 77 spray adhesive to the printouts. Lay out a few pages of newsprint so that you don't get sticky residue on the worktable or floor. |
|
|
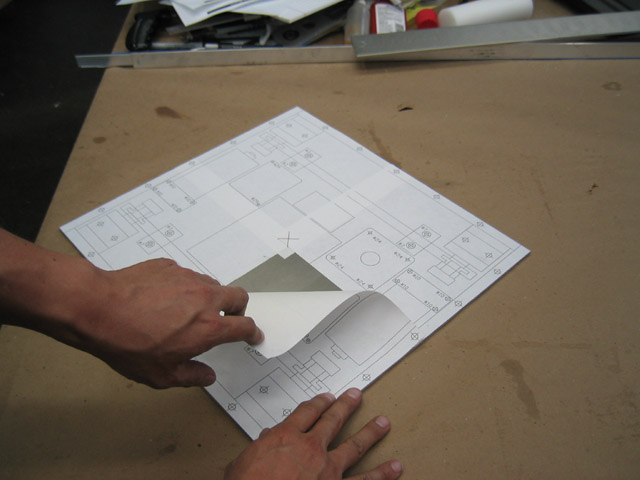
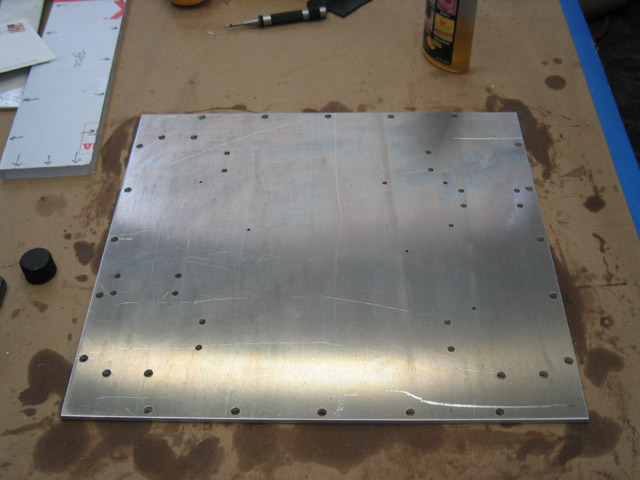
Attach the pattern to the base plate , making sure that your alignment marks match up. |
|
|
Using an automatic center punch, mark all the holes indicated. To accurately line up the punch, hold it at a 45º angle and center the tip over the "X" mark. |
|
|
Then raise the body upright and push straight down until the spring release activates and the tool produces a divot at the indicated mark. |
|
|
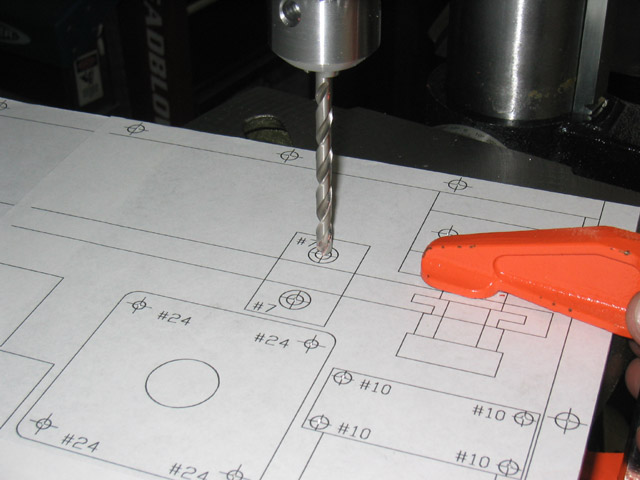
Drill the holes using the drill press. Make sure to line up the hole and then clamp the plate to the drill press table. Holes should be drilled with the number drill indicated. The unmarked holes should be drilled with a 1/4" drill bit. Make sure to use a cutting fluid or WD-40 for lubrication. |
|
|
You may have to stop periodically to remove aluminum chips that get caught on the drill bit and drill chuck. Make sure that the drill press power is off and the chuck has come to a complete stop. You may also want to wear gloves, since this process can produce very sharp edges on the chips. |
|
|
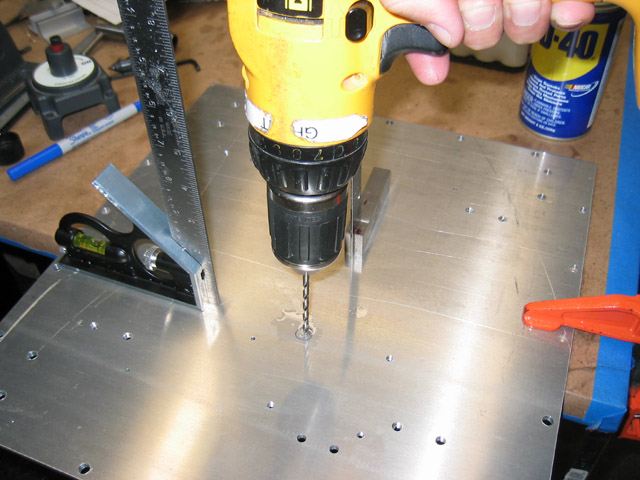
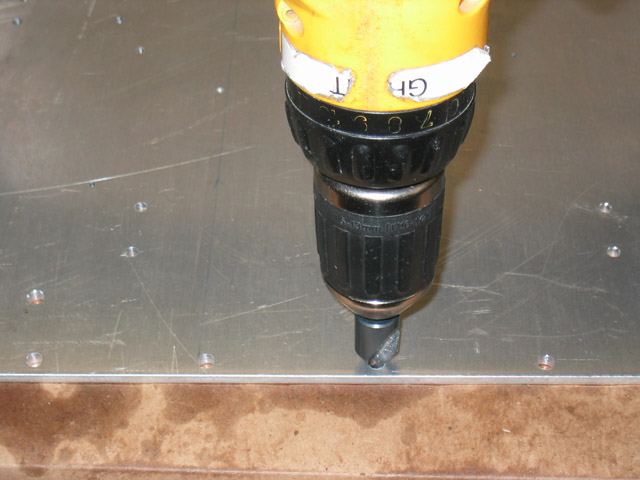
Some of the holes indicated may not be accessible with the drill press. Use a cordless hand drill to make these holes. You can use the double-square method as described in Chapter 7 (Drilling and Tapping Holes), to make sure that the hole is straight. |
|
|
After you've drilled all the holes, remove the pattern and clean the sticky residue from the plate's surface with Goo Gone or another solvent. |
|
|
Chamfer all holes with a countersink. You're only removing the sharp edge from the hole, so apply light pressure (usually the weight of the drill will do) and let the countersink slowly turn 3-4 times. |
|
|
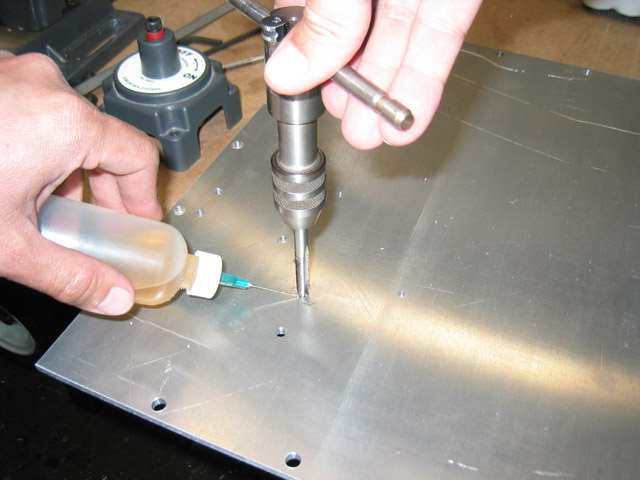
Tap the holes according to the procedures and precautions described in Chapter 7. Create #10-24 holes for the master power switch, #6-32 holes for the speed controls, and 1/4"-20 holes for the battery plate and brackets, chain tensioners, secondary power switch bracket, and receiver and receiver battery brackets. Make sure to use plenty of lubrication. In this picture, the tapping fluid is being dispensed from a hypodermic bottle for precise application. |
|
|
|