Cutting metal and plastic plates are essential skills for the robot builder, so we're starting there first. This project will get you working with the circular saw, jigsaw, and miter saw by cutting the armor and frame pieces for the project robot. While all of these cuts could be done with the jigsaw, I'll demonstrate some with the other two tools to show situations where their specialized designs allow you to make the cuts more quickly and precisely.
| Caution: Eye and ear protection are mandatory for these tools. They are incredibly loud, and pieces of metal will be flying everywhere. Review all of the general power-tool safety protocols described in Chapter 5 of Kickin' Bot, as well as the sections that correspond to the specific tools used below. |
Part 1: Cutting Metal Plates with the Circular Saw
You'll begin by cutting the 3/16-inch thick aluminum baseplate. The best tool for performing straight cuts in sheet stock is the circular saw. It will provide you with the cleanest and most precise cut, requiring very little cleanup. Make sure that your saw is equipped with a non-ferrous metal metal-cutting blade, as described in Chapter 5. The steps below will guide you through making your first straight cut with the circular saw.
click on an image to enlarge it
|
|
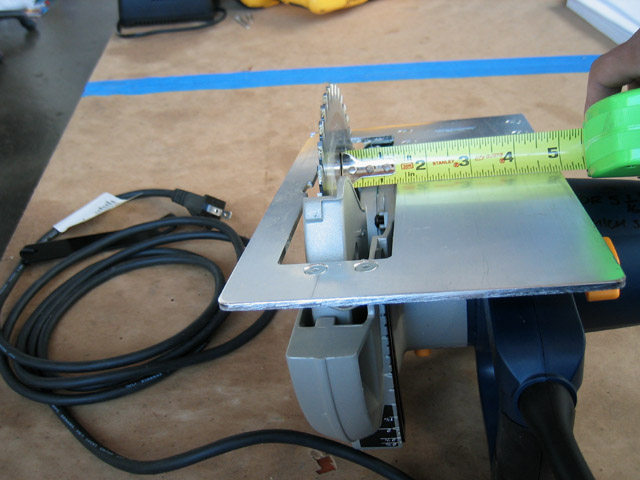
I started with a 24" x 24" sheet of 3/16" thick 6061 aluminum. Measure and mark a 15" x 14" square on the plate using the techniques for accurate marking described in Chapter 5. In this cut, the guide will be placed on the left side of the saw. In order to set the guide correctly, you've got to unplug the saw, flip it over, and measure the distance from the blade to the side of the base that will be following the guide. Measuring from the desired cut line (the 15-inch line), you should draw another line with this offset, and clamp the guide in place. |
|
|
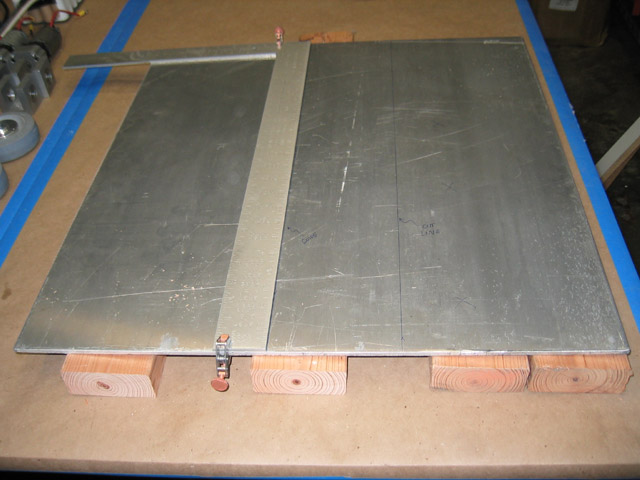
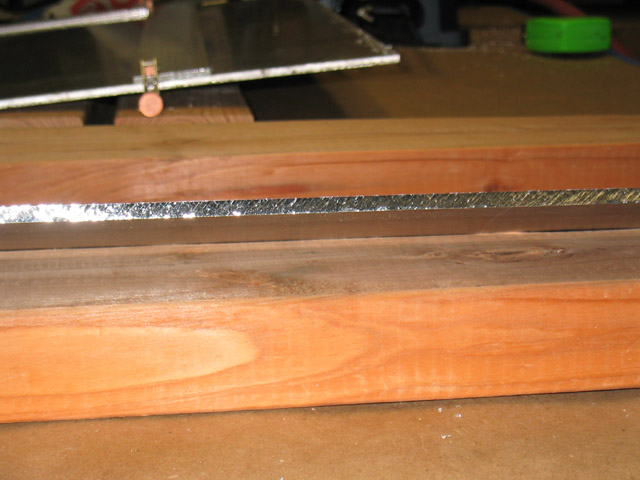
As mentioned in Chapter 5, (Cutting Metal), you must support both sides of the work with 2x4 wood blocks as shown, or else the blade will bind, and may cause the saw to jump, resulting in injury. |
|
|
With the saw unplugged, set the height of the blade by lifting the blade guard and bringing the footplate flat to the surface of the plate. View the blade height from the side as shown. Make sure that the height of the circular saw is set so that it will not touch the table or floor that the wood pieces are sitting on. Always set the blade height before beginning the cut. |
|
|
Draw over the 15-inch cut line with the stick wax so that you have a line of lubricant all the way down the piece. You can also use WD-40 as a lubricant. I prefer the stick wax because it doesn't fly away as much when you start the saw. Regardless of which type of lubricant you use, you must use a lubricant. Do not cut dry with the blade or you will destroy it. Before starting your cut, make sure to review the procedures for cutting metal with the circular saw in Chapter 5. |
|
|
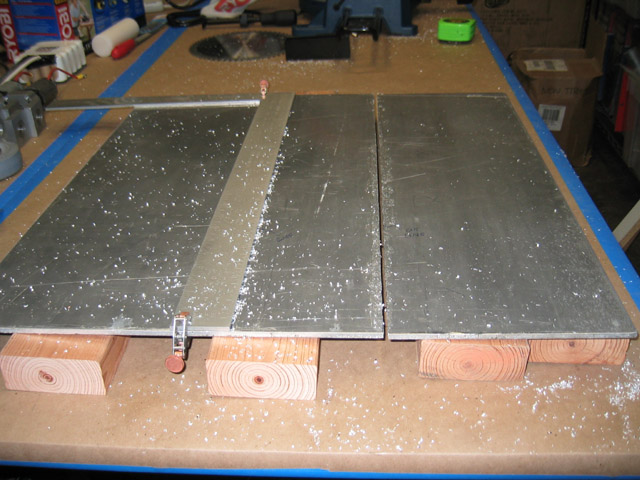
Keep the base of the saw held firmly against the guide and be sure that the blade is not touching the stock before you start. Also keep the base as level as possible. Start the blade and let it spin up to full speed. Slowly and smoothly bring the blade into contact with the piece. Continue through the length of the cut. Don't rush the cut. If the saw sounds like it's starting to slow down, then lower your pushing speed, and let the saw cut at its own pace. When you've made it all the way through the material, release the trigger and let the saw come to a complete stop before moving it away. You can see here that after the cut, both sides of the plate are supported and held horizontal, so that no binding may occur during the cut because of sagging stock. |
|
|
The circular saw produces the cleanest (and straightest) cuts in metal, requiring minimal cleanup. |
|
|
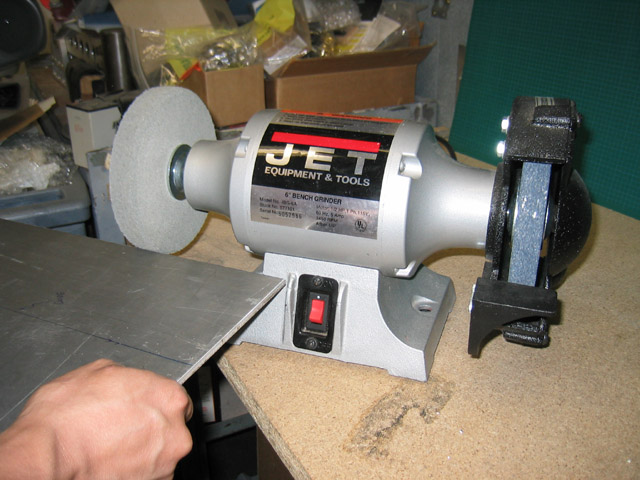
Take this edge to the deburring wheel and draw the ragged corner across the wheel in a smooth and steady motion, applying moderate and constant pressure. Make sure to line up to wheel below the center line. Make sure to get both the top and bottom edges. |
|
|
You can clean the remaining stick wax residue from the piece with Goo Gone and a rag. |
|
|
|